Reverse Engineered Object Progress: Week 4
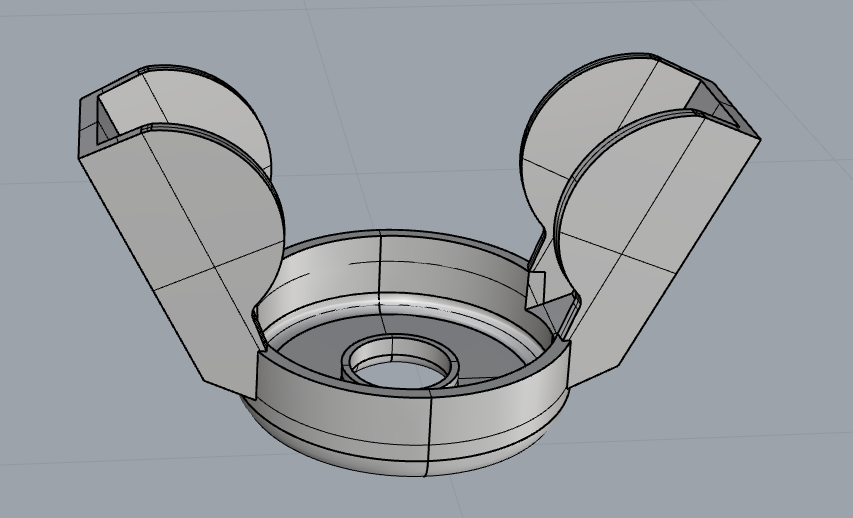 I had really hoped to get everything done by the end of this week, but unfortunately these final pieces are taking significantly longer than I thought. To start with I finished up the wingnut, which doesn't look correct at all, I focused way too much on using boolean tools and it made the whole thing very disagreeable. Time permitting I am going to revise or redo this one entirely

 I decided to drop the wingnut for a while as it was frustrating me to no end, and move on to these screw with the flat faces, they came together relatively quickly, I discovered working on these that sometimes if a boolean or some other tool is being disagreeable on a small scale, increasing the size of the object will often allow the various functions to go through, and then you simply shrink it back down to the size you need.

To get the final detail of the transition of the screw threads into the head of the screw, which is not a dead stop, I created a little planar surface to shear off the edges, each screw is a little different so I just picked the details that worked the best and made this screw.

Finally I got to work on the clamps, the most important part and final detail, I spent a lot of time experimenting with the side face in 2D to try and get all the details right, I often create small poly-lines to create a sort of digital construction line while working in 2D, as I find it helps me place everything where it needs to go, and it creates helpful attach points for the object snap tool.

Now appropriately wary of over reliance on Boolean, I did as much as the the 3D construction as possible manually, creating surfaces and arranging them appropriately to get everything functioning as I needed, I started with the top piece of the claw.

There's a small circular piece on the back, which I decided to create separately and then attach, as I thought it would have given me a lot of trouble while I constructed everything out of surfaces. after completing the surfaces, I lofted them together and then used the shell tool to get the thickness I needed, this created some odd gaps that I had to fill in manually but otherwise it worked

The final top claw looks pretty much perfect, and I'm pretty happy with how it turned out, it took a lot of problem solving to decide what tools to use where, and also took a very long time, but I think I'll be able to turn the other half of the claw around pretty quickly now, and so am confident that I'll be able to wrap it all up very soon, hopefully with enough time to fix that nasty wingnut, which I think will also go much faster with the lessons I learned from finishing the clawpiece.


Comments
Post a Comment